

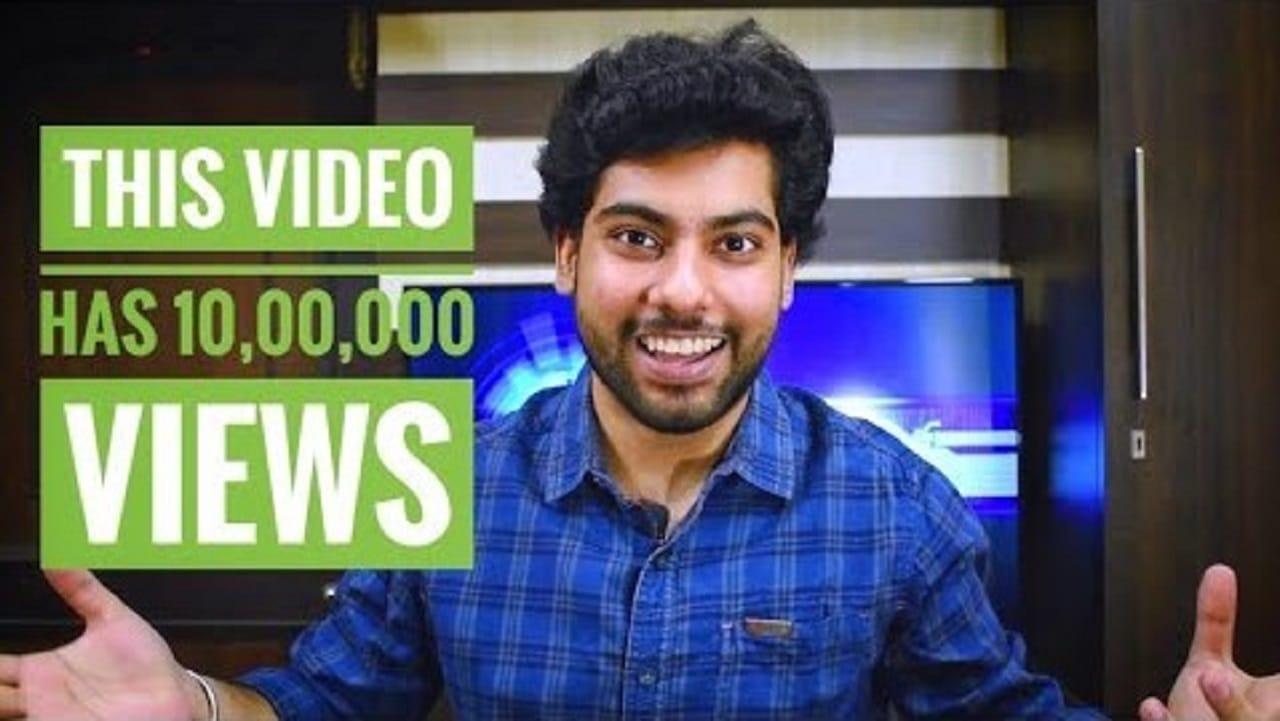
I started my Youtube channel 4 years ago, in 2016 the same year as I started studying Computer Science at University. I always loved writing code and making videos. Recently, I came across a video by Tom Scott in which the title was getting updated automatically. The title always showed “ This video has X views ”, where X was equal to the number of views the video had.

There were two ways to do this as told by Tom Scott in his video
1.Using Screen Scrapping (Selenium)
2.Using API
So, I decided to make a similar video and try to write the code on my own. I had experience in Selenium before, but as Tom told this wasn’t a smart option so I chose to use flask and Youtube API because this provided me a learning opportunity as I didn’t have much experience in flask and APIs.
So let’s start building
Step 1 — Fetch the count of views, likes, and comments on our video
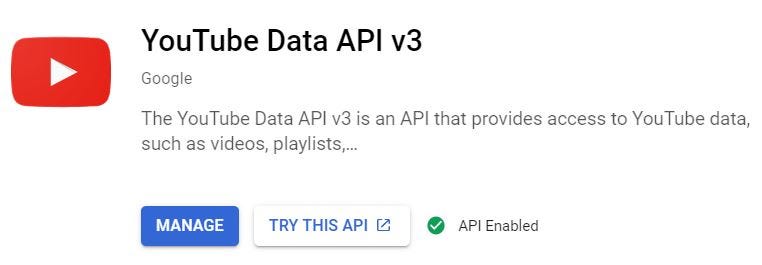
For this, we need to use the Youtube API. To access this API we need to first create a project in Google Developers Console. After creating a project, head over to the library and enable Youtube Data API v3 (we choose this one because we need to update the metadata on our video later, other APIs are read-only) and create an API key from credentials menu.
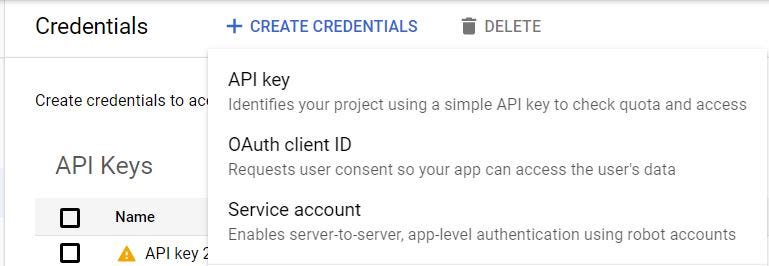
Now, while we are on the credentials page we need to create an OAuth client ID too because we will need it later to communicate with Google to access our youtube metadata, without requiring to use our email ID and password. Now for OAuth ID, we need to select web applications as our app will be based on flask.
Step 2 — Writing Code
The best part about working with Google APIs is the documentation available. If you go up to the documentation page of the youtube API you will find that the code that we require is already present over there we just need to copy that code and modify it according to the need.
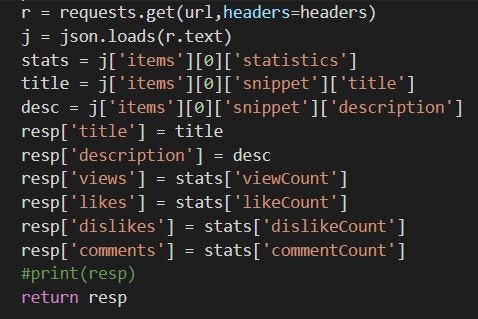
From the documentation, we can get the code snippet that we require to get our video’s information using API and video ID. This snippet will provide us with a JSON file we just need to extract the data we need from this file
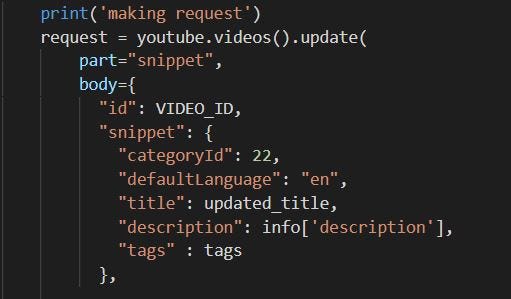
Now we need to be able to update the metadata of our video for that we can get the update code from the same Github library we used earlier for getting video info. Here also we need to modify the code to make it update the title as “This video has _ views, _ likes and _ comments” where _ will be filled by the values we got from our previous code snippet
Now to update the metadata we need permissions from google to do that we need to authorize our app and to do that is extremely simple and easy again thanks to the documentation. One important step here is to register the URL of flask app we are going to be using in the OAuth key so that our app can be identified.
Initially, while testing the code on localhost you need to update the localhost URL into the web client-key. The URL where google will be returning our request should also be added to the key.
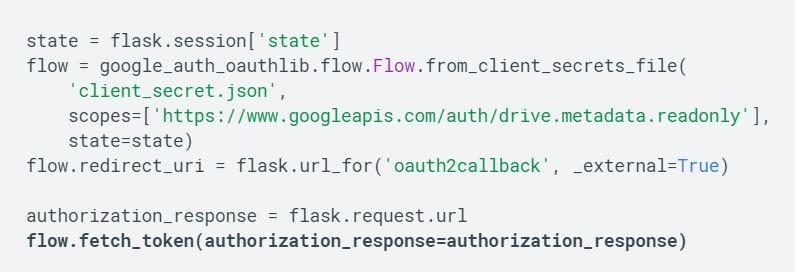
If you are going to use the code from the documentation, the three return pages will be /test, /authorize and /oauth2callback
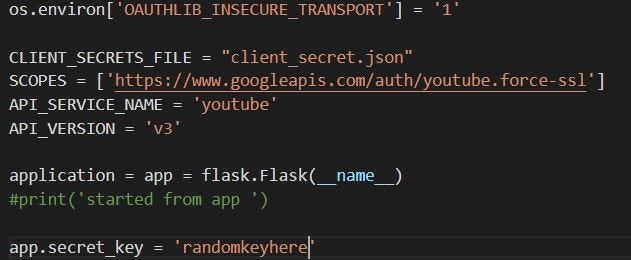
After writing code for these three things we need to create a flask app and integrate the code within that flask app with the necessary details required like client secret file, API details, and secret key.
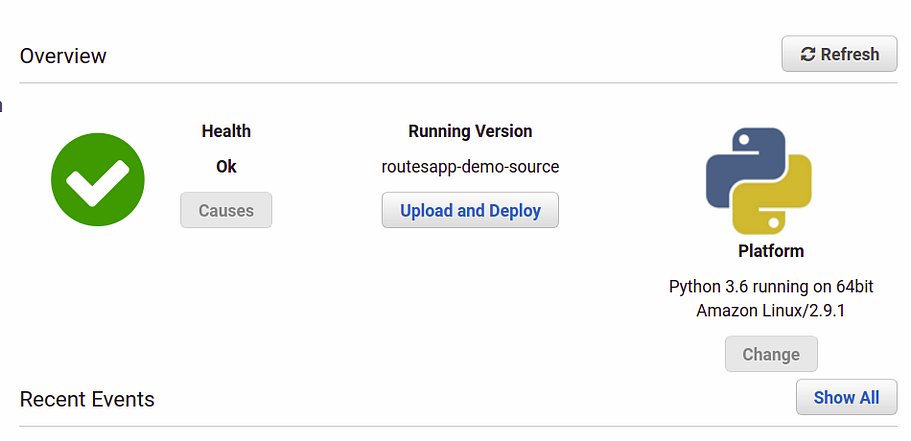
Step 3 — Deploying on Cloud
Deploying this application on the cloud is one of the final steps of this project. For deploying this application we can’t use Heroku because Heroku times out after 30 mins of the last request. In our application, we are making request only once for authorization the updating of metadata is going on in the background. So Heroku will automatically timeout while running our application.
So, the best option was to use a 1 year free trial of any cloud service that I felt like using. I went with AWS( Only AWS accepted my card, so I had no other option) and it was complicated at first but after couple of videos on youtube I understood how to use AWS and then I deployed my application on Elastic Beanstalk and tested if it worked correctly.
Step 4 — Maintenance
This might seem like an optional step but is extremely important especially for someone who is using the API for free or without a 1-year free trial (Google didn’t accept my card). Google gives you 10,000 quota points per day for API usage. For reading through API it used 1 point but for writing, it uses 50 points.

So that makes it 51 points per change in title. So by maths, if we update the title every 2 minutes we will need
30( requests per hour) * 24 ( Hours our code will work in a day) * 51 (Quota point per request) = 36,720
This is way beyond the Quota limit allowed, so I needed to figure out a way to minimize it. In ideal conditions, every request will update the data but for a small channel like mine, it wasn’t the case.
So I could introduce a condition if the new updated title (created after fetching info from API) was equal to the older title then there was no need to update. Also, I made some adjustments by observing the traffic to that video and increasing the Request time in inactive hours (send request after 10 minutes or so), and if the video title didn’t change for the past 5–6 times then, also increase the request time. These steps drastically reduce my Quota consumption below 10,000.
These steps were taken in as a measure but don’t guarantee that the code will always work, someday the code will break. If this video gets viral (Which I hope it does) code will break. If views increase slowly but constantly then also code will break.
In the end,
I shall quote Tom Scott “Nothing is going to last forever, in the end, entropy will get us all”
PS: If you liked this article, give my video a like. And YES, The Thumbnail is clickbait
Stay connected